Offline voice-to-text on Mac: what to set up first
A practical checklist for making offline Mac dictation reliable before you depend on it for notes, drafts, files, or private work.
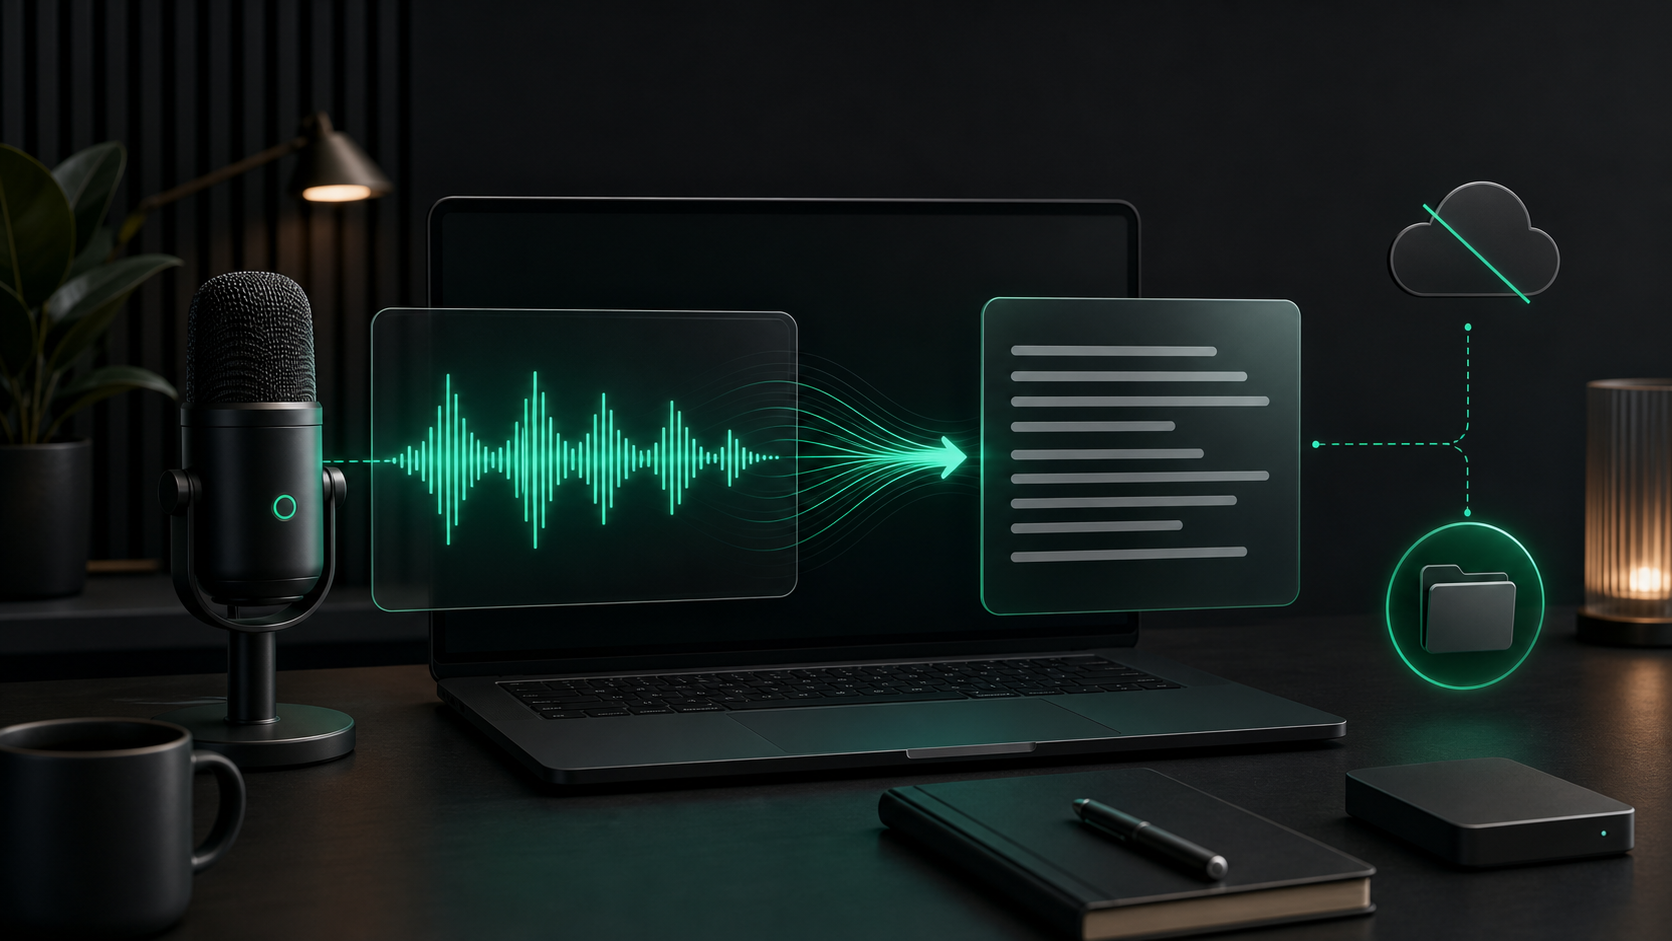
Offline voice-to-text sounds simple until you try to rely on it.
You want to press a hotkey, speak naturally, and get usable text without sending the recording through a cloud transcription service. But offline dictation is only as good as the setup around it: microphone permission, model downloads, output behavior, history, performance settings, and the app where the text is supposed to land.
The goal is not to build a complicated system. The goal is to remove the small surprises before you dictate something important.
Here is the setup checklist I would use before depending on offline voice-to-text for client notes, AI prompts, research recordings, private drafts, or daily Mac writing.
Confirm what "offline" means for your workflow
Offline transcription means the speech recognition work happens on your Mac instead of being uploaded to a hosted transcription service.
That boundary matters, but it has two important limits.
First, the local model must already be on the machine. If your dictation app needs to download a model, do that while you have a good connection. After the model is downloaded, the actual transcription workflow can run locally.
Second, local transcription only controls the transcription step. Once the text exists, the destination app has its own rules. Pasting a transcript into a browser-based document, an AI chat, a support tool, or an email client may send the text somewhere else. Offline voice-to-text reduces one data handoff; it does not make every later app private.
That is still useful. For rough thoughts, sensitive notes, and recordings you do not want processed by a transcription website, keeping the speech-to-text step local is a cleaner default.
Download the model before you need it
The most common offline failure is not a mysterious bug. It is trying to use a model that is not installed yet.
In SpeakLane, model selection lives in Settings > Models. If a model is missing, the app prompts you to download it. Do that before you plan to work offline, travel, record in a low-connectivity place, or process a file you do not want waiting on a network request.
Do not overthink the first choice. Use a practical default:
- Tiny for quick rough capture.
- Base for everyday notes when speed matters.
- Small for longer or noisier audio.
- Medium or Large when review time matters more than processing time.
- Turbo when you want a fast model with stronger quality than the smallest options.
The right model is not the biggest one you can install. It is the one that gives you enough accuracy for the job without making dictation feel slow enough that you stop using it.
For a private journal note, rough prompt, or task list, a faster model may be fine. For an interview clip, client note, quoted material, or recorded decision, use a stronger model and review the result.
Set your hotkey while you are online and calm
A good offline dictation setup should feel boring when you use it.
Set a global push-to-talk shortcut in Settings > Hotkey. Use at least one modifier key so the shortcut does not collide with common Mac commands. Then test it in the actual apps where you expect to dictate: Notes, Mail, Slack, Notion, Cursor, a browser text field, or whatever you use every day.
This is worth doing before you need the workflow because hotkeys can conflict with macOS, app shortcuts, window managers, clipboard tools, launchers, or other utilities. If the shortcut does not register, pick another combo and test again.
A reliable hotkey changes the habit. Instead of opening a separate transcription surface, you press, talk, release, and keep working in the app that already had your attention.
Decide where finished text should go
Offline transcription is only half the workflow. The other half is handoff.
In Settings, SpeakLane can auto-copy the transcript to your clipboard or auto-insert it into the focused app. Auto-insert requires Accessibility permission. Auto-copy is useful when you want to review or edit before pasting.
Use the mode that matches the job:
- Use auto-insert for short notes, replies, search fields, and places where you trust the focused cursor.
- Use auto-copy when the text is sensitive, long, or likely to need review.
- Use both carefully if your workflow benefits from a typed result and a clipboard fallback.
The main mistake is assuming the cursor is always where you think it is. If you are dictating something private or long, check the focused app first or rely on clipboard review.
This is where a dedicated local dictation workflow feels different from a lightweight built-in input feature. The transcript is not just thrown at the nearest text field. You can decide whether insertion, clipboard, or history should be the primary recovery path.
Keep local history turned into a safety net
Offline dictation should not be fragile.
If a paste fails, an app steals focus, or you release the hotkey before the cursor is ready, the transcript should still be recoverable. SpeakLane saves sessions to a local History folder, with retention controls in settings.
Before you rely on dictation, choose a history location you understand. Turn on Reveal history item on completion if you are transcribing files or longer recordings and want to inspect the result immediately. Decide how many recent recordings to keep so history is useful without becoming a pile of stale audio.
This matters most for:
- Voice memos that contain names, dates, or decisions.
- Client notes you need to clean up before sending.
- AI prompts that took a few minutes to speak.
- Research recordings where one sentence may become a quote.
- Drafts where losing the first version would mean starting over.
History is not just an archive. It is the recovery layer that makes voice input easier to trust.
Test with the kind of audio you actually use
Do not validate offline voice-to-text with one perfect sentence in a quiet room and assume the setup is ready.
Test the realistic cases:
- A short dictated note into your normal writing app.
- A longer spoken draft with pauses and corrections.
- A technical prompt with names, acronyms, or product terms.
- A noisy voice memo or existing audio file.
- A transcript you plan to paste into another app.
Then look for the parts that need a better routine. Maybe you need a larger model for technical terms. Maybe cleanup helps with filler words in rough drafts. Maybe auto-copy is safer than auto-insert for certain apps. Maybe you need to speak unusual names more clearly the first time.
The point of testing is not to chase perfect transcription. It is to learn which settings make your real material predictable.
Use file transcription differently from live dictation
Live dictation and file transcription are related, but they are not the same job.
Live dictation rewards speed. You want the transcript to appear while the thought is still fresh. File transcription rewards review. You are usually processing an existing voice memo, clip, interview, meeting recording, screen recording, or short video because the content matters enough to reuse.
SpeakLane can import common audio and video formats through Transcribe File. Before importing a file, pick the model that matches the recording, decide whether cleanup should preserve exact wording or improve readability, and make sure the result lands in history where you can inspect it.
For files, keep the source audio close until you trust the transcript. Proper nouns, numbers, quotes, and quiet side comments deserve a listen-back before the text becomes a note, article, customer reply, or prompt.
A simple offline dictation checklist
Before you depend on offline voice-to-text on your Mac, run through this once:
- Download the local model you plan to use.
- Grant Microphone permission for recording.
- Grant Accessibility permission if you want auto-insert.
- Set and test a global hotkey.
- Choose auto-copy, auto-insert, or both.
- Pick a history folder you can find later.
- Set retention so recordings do not pile up forever.
- Test one short note, one longer draft, and one realistic file.
- Review the transcript before pasting sensitive text into another app.
That is enough structure for most people.
Offline voice-to-text works best when it becomes a quiet Mac habit: model already installed, hotkey already tested, history already saving, and output behavior already matched to the kind of work you do. Once those pieces are in place, you can treat speech as a normal way to draft notes, prompts, replies, and transcripts without making cloud upload the default first step.