How to transcribe screen recordings locally on Mac
A practical workflow for turning walkthroughs, demos, and screen recordings into useful notes without uploading the raw video first.
Screen recordings are often full of useful explanation that never makes it into the final doc.
You talk through a bug, narrate a product walkthrough, record a customer-facing demo, or capture a quick process for someone else on the team. The video gets saved, sent, or forgotten. Later, you still have to write the summary, pull out the steps, create the ticket, or turn the walkthrough into something searchable.
That is where transcription helps. Not because every screen recording needs a perfect transcript, but because the spoken layer is usually where the context lives.
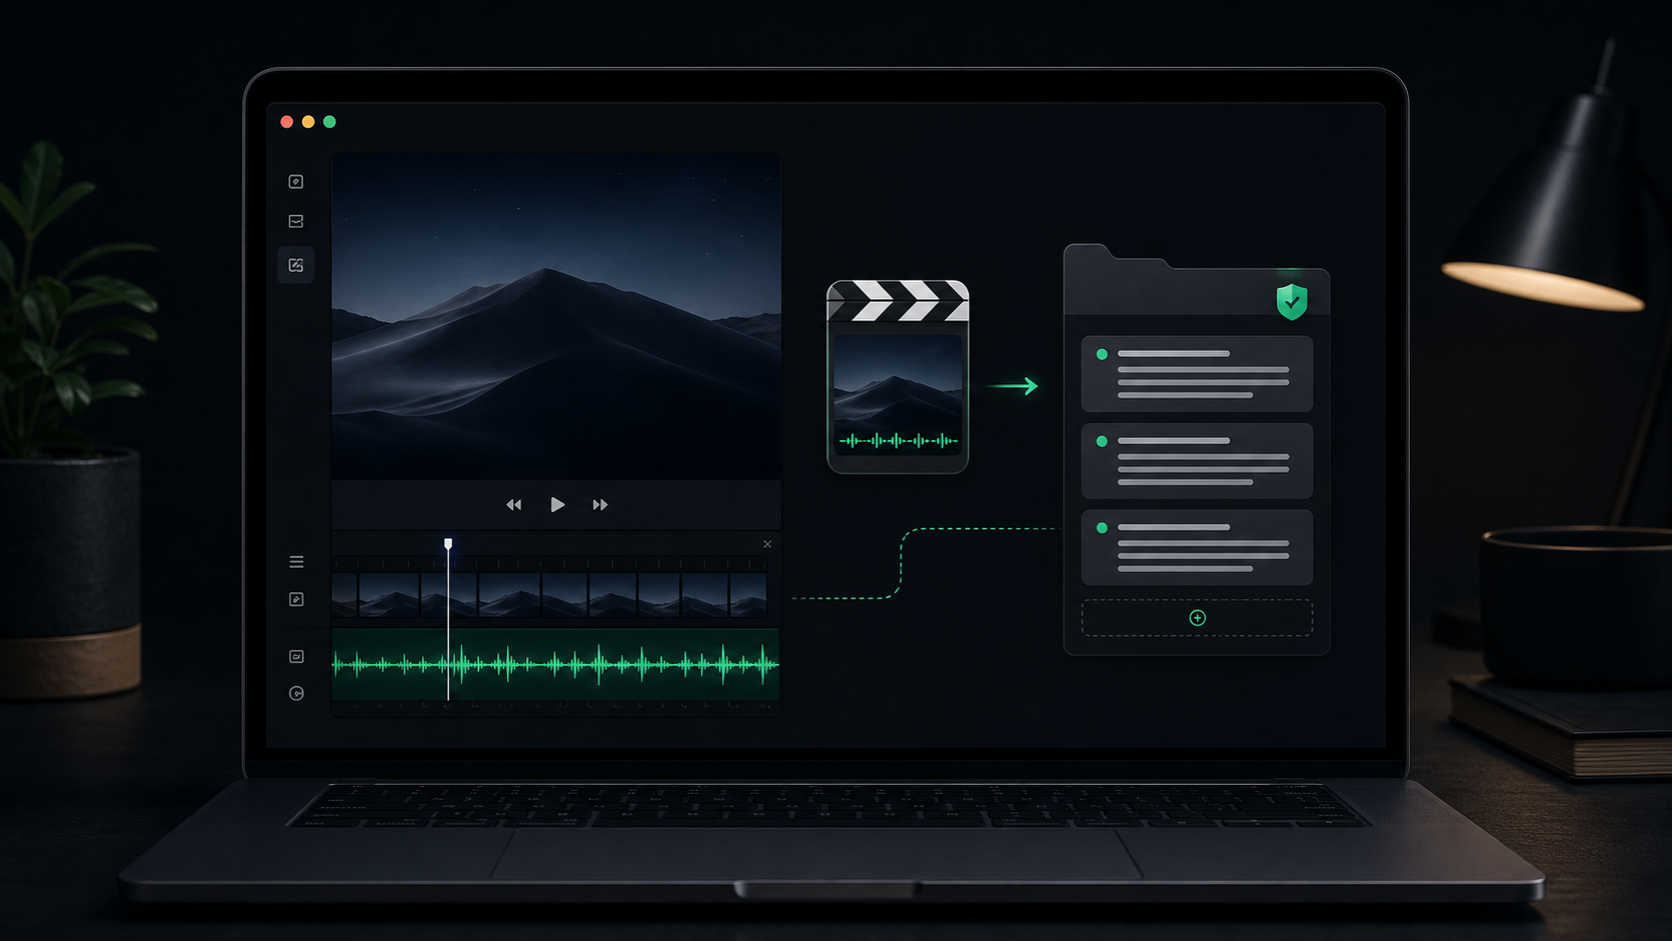
The cleanest workflow is to keep the raw video on your Mac, transcribe it locally, then turn the rough transcript into the smaller artifact you actually need.
Decide what the recording is for
Before recording, name the job.
A screen recording can become several different outputs:
- A bug report with reproduction steps.
- A handoff note for a teammate.
- A customer support explanation.
- A short internal process doc.
- A product demo recap.
- A checklist for repeating a workflow.
- A draft script for a cleaner video later.
Those jobs need different transcripts.
For a bug report, the important parts are exact steps, expected behavior, actual behavior, and environment details. For a handoff, the important parts are what changed, what still needs judgment, and where the next person should start. For a customer explanation, the important parts are usually the short version and the caveats, not every word you said while clicking around.
If you know the destination first, you can record with less rambling and review the transcript faster.
Record the explanation you would otherwise type
Most screen recordings are more useful when you narrate the why, not just the clicks.
Instead of recording silently and trying to reconstruct the context later, talk through the useful parts as they happen:
- What you are trying to show.
- What changed from the previous state.
- Which step matters and which one is incidental.
- Where someone should pause or verify.
- What you are unsure about.
- What the next action should be.
Do not worry about making the narration polished. The transcript is a draft material, not the final artifact.
A good spoken walkthrough can sound rough:
"I am starting from the settings screen because this only happens after transcription history is enabled. The issue is that the folder opens, but the newest item is not selected. That makes it hard to find the transcript when several recordings finished today."
That may not be the final ticket wording, but it already contains the setup, behavior, and user impact. Typing that from memory later is slower and usually less precise.
Keep the source file simple
SpeakLane can transcribe imported audio and video files in common formats, including mp4 and mov. That makes screen recordings a good fit when you can save or export the recording as a normal video file.
Use the shortest file that still contains the useful explanation. A three-minute focused walkthrough is easier to review than a twenty-minute recording with five minutes of setup and long pauses.
Before importing, check:
- Is the microphone audio clear enough to understand?
- Is the file saved in a supported format?
- Does the recording include private tabs, customer names, tokens, or messages that should not be shared later?
- Do you need the whole recording, or only the section where the issue or process appears?
- Will the final output be a transcript, a summary, a ticket, or documentation?
That last question matters because you do not have to keep the transcript in the same shape as the recording. The transcript is a bridge between the video and the written thing you need.
Transcribe the video locally before sharing it
Raw screen recordings can contain more than you intend to publish.
They may include private app state, filenames, browser tabs, notifications, unreleased product details, customer context, or side comments that only made sense during the recording. Even when the audio is harmless, the video file itself can be more sensitive than the final notes.
Local transcription gives you a checkpoint. You can process the recording on your Mac, inspect the transcript, and decide what should leave the machine.
In SpeakLane, use Transcribe File for the recording. The transcript is saved to local history, so you can review it before copying anything into a shared doc, issue tracker, support reply, or AI assistant.
That boundary is useful. The source recording can stay private while the cleaned output becomes shareable.
Choose speed or accuracy based on the output
Not every screen recording deserves the same model.
If the recording is a low-risk internal walkthrough, a faster model may be enough. If the transcript will become a customer-facing article, a bug report with exact terms, or documentation that others will follow, use a stronger model and expect to review the result more carefully.
Use a stronger local model when the recording includes:
- Product names or feature names.
- Error messages.
- Command names.
- Customer-specific language.
- Dates, numbers, or version details.
- Steps that someone else must reproduce exactly.
You can choose models in Settings > Models. The goal is not to make every transcript perfect. The goal is to put the extra accuracy where mistakes would create follow-up work.
Even with a stronger model, verify anything exact against the original video. Transcription is a fast way to find and shape the material, not a substitute for checking details that matter.
Turn the transcript into the right artifact
A screen recording transcript is usually too long to share as-is.
Most people do not need a sentence-by-sentence replay. They need the useful structure hidden inside the narration.
For a bug report, pull out:
- Starting state.
- Steps to reproduce.
- Expected result.
- Actual result.
- Relevant details from the recording.
For a process doc, pull out:
- When to use the workflow.
- Required setup.
- Step-by-step instructions.
- Common mistakes.
- Where to verify the result.
For a handoff note, pull out:
- What changed.
- Why it changed.
- What is still open.
- What the next person should inspect first.
- Links or files they will need.
The transcript helps because you can search, skim, and copy the phrases that carry real context. You are not trying to preserve the recording. You are turning it into a smaller written object.
Use history as a review surface
Screen recording transcripts are easiest to work with when they have a temporary home.
SpeakLane saves file transcription results to History, which gives you a place to reopen the transcript after the processing finishes. If you enable reveal-on-completion in Settings, you can jump straight to the new history item in Finder.
That is useful for a simple routine:
- Record the walkthrough.
- Transcribe the video locally.
- Open the transcript from history.
- Copy the parts that belong in the final note, ticket, or doc.
- Verify any exact steps against the video.
- Delete or retain the recording intentionally.
History should be a safety net, not an accidental archive of every rough recording you ever made. If the transcript or source video includes sensitive work, prune it when it has served its purpose.
A practical screen recording workflow
Use this the next time a video walkthrough would be faster than typing:
- Decide the final artifact before recording.
- Record the shortest useful walkthrough.
- Narrate the context, decisions, and next step out loud.
- Save or export the file as a supported video format.
- Transcribe the recording locally on your Mac.
- Use a stronger model for exact names, commands, and reproduction steps.
- Review the transcript from history.
- Convert it into the right structure: ticket, doc, support note, or handoff.
- Share the cleaned text, not the rough transcript by default.
- Keep or delete the source recording deliberately.
This workflow works because screen recordings and written notes solve different problems. The recording captures the moment quickly. The transcript makes the explanation searchable and editable. The final note gives someone else the version they can actually use.
For product teams, support work, demos, research walkthroughs, and internal process docs, that middle step can save a lot of reconstruction. You do not have to upload the raw video just to get the words out of it. Let the recording stay local, turn the voice into text, then share only the part that is ready.