Voice typing in ChatGPT on Mac: a practical workflow
A simple way to speak longer ChatGPT prompts on Mac, review the rough transcript locally, and send only the context you actually mean to share.
Short ChatGPT prompts are easy to type.
The useful ones are usually longer. You need to explain the goal, the audience, the messy background, the constraints, the thing you already tried, and the kind of answer you want back. That is where people start trimming context because typing it all feels slow.
Voice typing can help, but only if the workflow gives you a review step. The first spoken version of a prompt is rarely the final version you should send. It may include private names, rambling setup, half-formed opinions, or details that helped you think but do not belong in the chat.
Here is a practical way to use voice typing with ChatGPT on Mac without turning every prompt into a cleanup project.
Treat voice as the capture layer
The best use of voice is not replacing every keystroke. It is capturing the raw context while it is still in your head.
When you are asking ChatGPT for help with a customer reply, planning note, code explanation, research summary, or product decision, the hard part is often not the instruction. It is the context around the instruction:
- What outcome do you want?
- Who will read the result?
- What should the answer avoid?
- Which detail is non-negotiable?
- What tone would be wrong?
- What did you already try?
Those details are easier to say than type. Speak the rough version first, then use the keyboard to edit. That keeps voice in the part of the workflow where it is strongest: getting the full thought out quickly.
Start every spoken prompt with the job
Before you dictate background, say what you want ChatGPT to do.
A weak spoken prompt often starts with a long story and only reveals the job at the end. That makes the transcript harder to edit and gives the model too much unstructured material.
Use a short opener:
Help me rewrite this customer reply. The goal is to sound clear and calm. Keep the answer short. Do not make any promises about timing.
Then add the details.
That first sentence gives your transcript a shape. It also makes review easier because you can see whether the rest of the prompt supports the actual task or just records everything that crossed your mind.
For repeated work, keep a few prompt openers in your head:
- "Help me turn this rough note into..."
- "Explain this tradeoff for..."
- "Draft three options for..."
- "Find the risk in this plan..."
- "Rewrite this so it sounds..."
The opener does not need to be clever. It needs to make the job obvious.
Dictate in chunks instead of one long take
One long voice recording feels efficient until you have to fix it.
For ChatGPT prompts, chunks work better. They keep each idea reviewable and make it easier to catch names, acronyms, product terms, and private details before sending.
Use a simple sequence:
- Dictate the job and output format.
- Dictate the background.
- Dictate constraints and things to avoid.
- Dictate source material or examples.
- Review the prompt before pressing send.
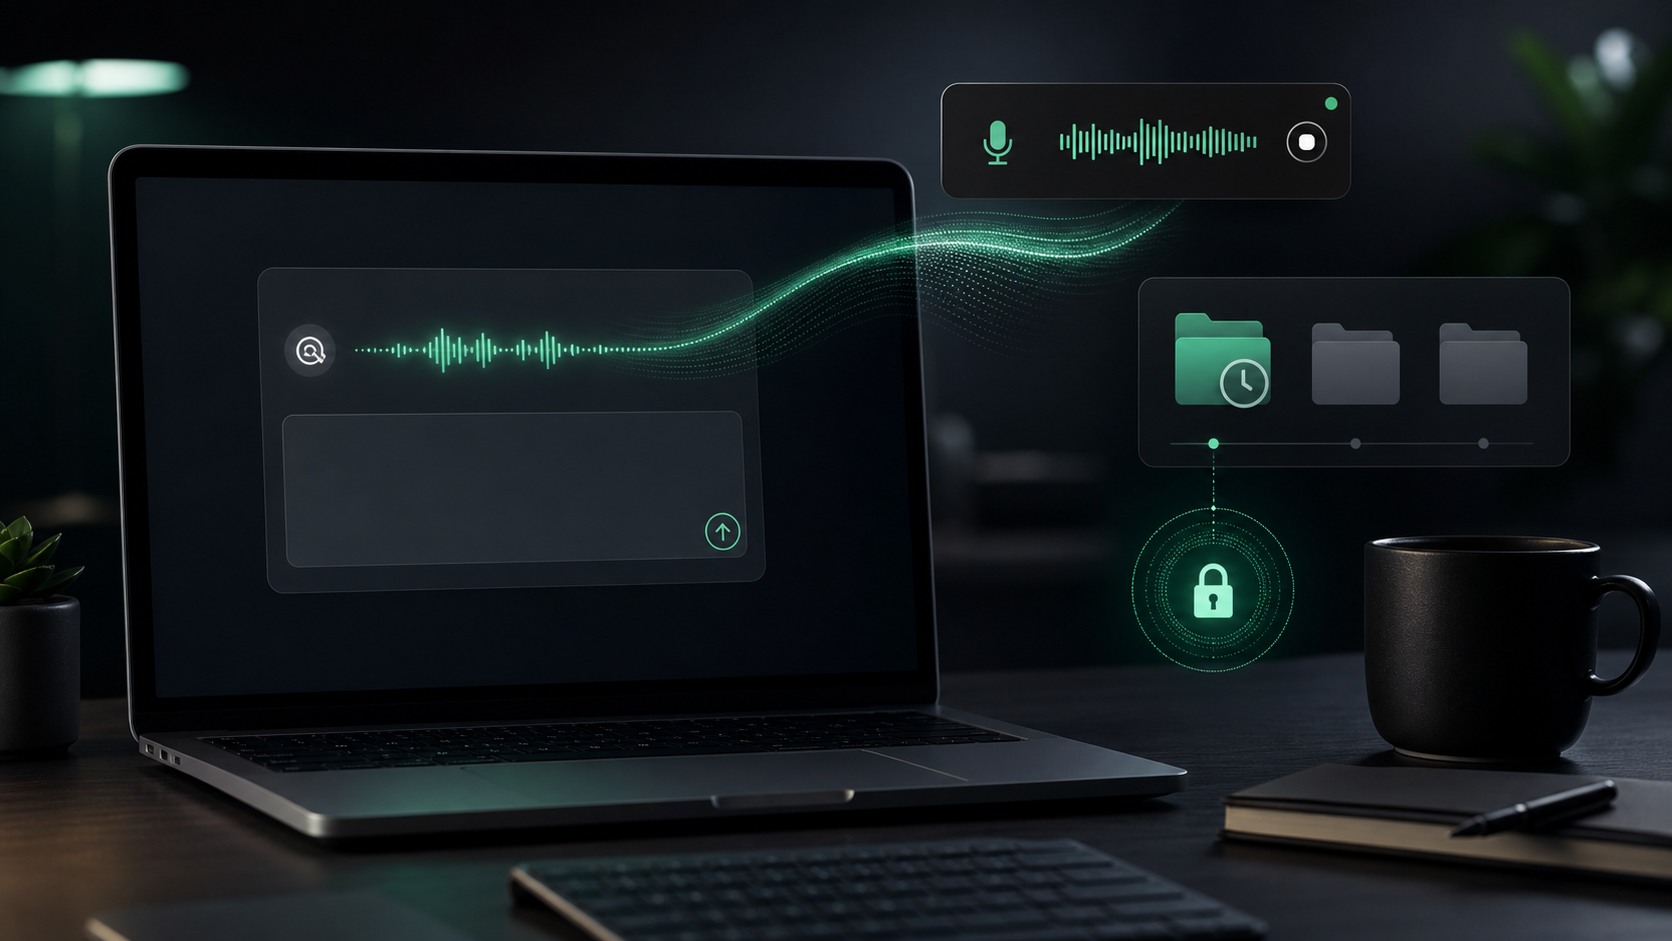
With SpeakLane, the push-to-talk hotkey fits this rhythm. Hold the shortcut, speak one unit of context, release, review, and continue. You can build a prompt paragraph by paragraph instead of creating one dense transcript that needs a full edit pass.
This matters most when the prompt includes technical terms, customer names, dates, or quoted material. Keep those parts short enough to inspect.
Use a local scratch space for sensitive context
The ChatGPT prompt box is not always the right place for the first draft.
If the context includes client names, internal plans, customer complaints, unpublished product details, or rough personal thinking, dictate into a local scratch document first. Then remove anything that does not need to leave your Mac before pasting the finished prompt into ChatGPT.
That extra step changes the workflow from automatic sharing to deliberate sharing.
Local dictation helps here because the speech-to-text step can happen on your Mac before you decide what belongs in the final prompt. You still need to decide what is appropriate to send to ChatGPT, but you are not adding a separate cloud transcription service just to turn your voice into text.
In SpeakLane, you can use auto-copy or auto-insert depending on the prompt. Auto-insert is convenient when you are already in a safe field. Auto-copy or a scratch document is better when the prompt needs a privacy review first.
Give ChatGPT structure out loud
Spoken prompts get better when you say the section labels.
That sounds unnatural for the first few tries, but it produces cleaner instructions. Say the labels you would type if you were writing the prompt carefully:
Goal: turn this into a concise project update. Context: we shipped the import fix yesterday. Audience: internal team. Constraints: do not mention the customer name. Output: three bullets and one open question.
Those labels survive transcription well. They also make the prompt easier for ChatGPT to follow because the model can see the difference between background, constraints, and desired output.
Use labels like:
- Goal: what you want back.
- Context: what the model needs to know.
- Audience: who the output is for.
- Constraints: what must stay true.
- Avoid: what would make the answer wrong.
- Output: the format you want.
This is especially useful when you are tired, moving quickly, or trying to explain a problem that has too many details. The labels keep the spoken prompt from becoming a monologue.
Check the words that are expensive to get wrong
Voice typing is good at getting a draft onto the page. It is not a reason to stop reviewing.
Before you send the prompt, scan for the details that could change the answer:
- Names of people, companies, products, and files.
- Dates, prices, deadlines, and numbers.
- Technical terms, acronyms, and commands.
- Negative instructions like "do not mention this."
- Anything confidential that should be removed.
If the exact wording matters, type that part manually or correct it before sending. A spoken prompt with one wrong product name can send ChatGPT down the wrong path. A prompt that accidentally includes private context can create a larger problem than the typing time you saved.
This is where a local history can also help. If a dictated chunk disappears, lands in the wrong place, or needs another pass, you have a recovery point instead of starting over.
Pick the model based on the kind of prompt
Not every ChatGPT prompt needs the same dictation quality.
For casual brainstorming, a faster local model may be enough. For a technical prompt with function names, product terms, or customer language, use a stronger model and plan on a short review pass.
In SpeakLane, model choice lives in Settings > Models. The practical rule is simple: use speed when the prompt is rough, and use accuracy when the details are costly to fix.
You can also change how you speak. Pause between sections. Spell unusual names. Say punctuation only where it helps. Keep technical identifiers short enough that you can correct them with the keyboard.
The goal is not perfect dictation. The goal is a prompt that contains enough clean context for ChatGPT to give you a useful answer.
A repeatable ChatGPT voice workflow
Use this the next time a prompt feels too long to type:
- Open a local scratch document or the ChatGPT prompt field.
- Dictate the job first: what you want ChatGPT to produce.
- Add context in short chunks.
- Say section labels out loud when the prompt has multiple parts.
- Review names, numbers, constraints, and private details.
- Remove anything that helped you think but does not need to be shared.
- Paste or send the cleaned prompt.
That is the whole habit.
Voice typing works best when it gives you more complete context without removing your judgment. Speak the rough version, clean it locally, then send the prompt you actually mean to send.