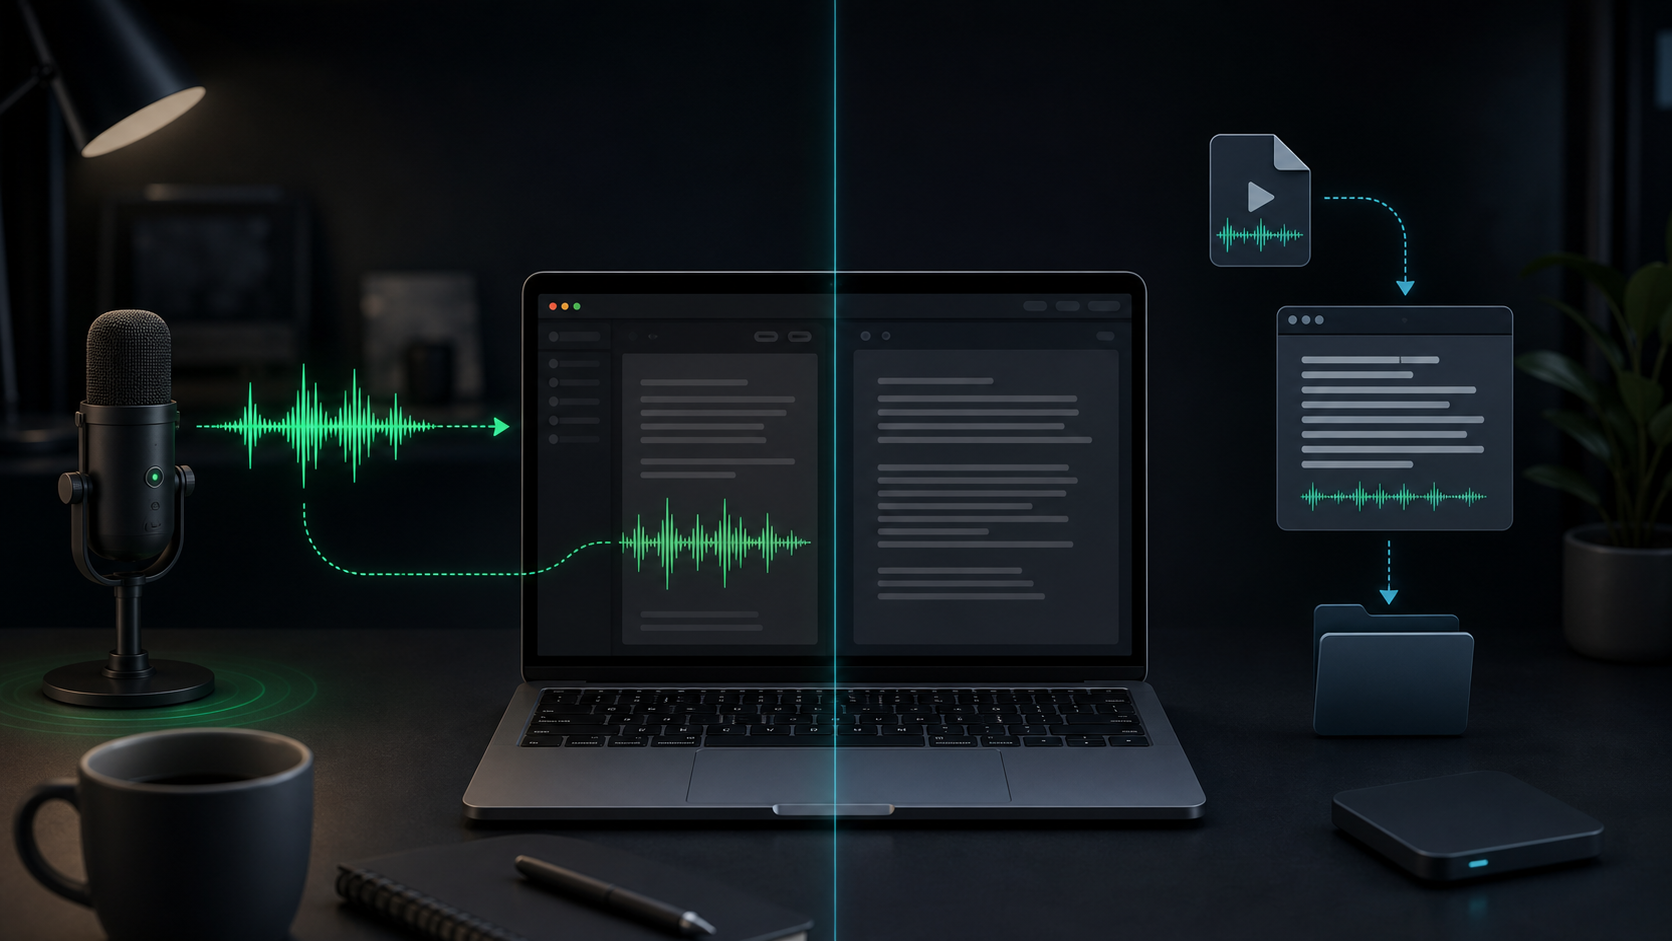
Live dictation vs file transcription on Mac: which workflow fits?
A practical way to choose between speaking directly into your Mac apps and transcribing existing recordings after the fact.
Voice-to-text sounds like one workflow until you start using it every day.
Sometimes you want to press a hotkey, say the paragraph that is already in your head, and keep working in the same app. Other times you have a voice memo, meeting recording, interview clip, or screen recording that needs to become text after the fact.
Those are both speech-to-text jobs, but they ask for different habits. Live dictation is about momentum. File transcription is about review. If you use the wrong workflow for the job, voice starts to feel either too interruptive or too loose.
Here is a practical way to choose.
Use live dictation when the text is being written now
Live dictation works best when speech is part of the writing process.
You are not trying to preserve a recording. You are trying to get a thought into the app where the work is already happening: Mail, Notes, Slack, Notion, Linear, Cursor, a browser text field, or a draft document.
Use live dictation for:
- Email replies and customer follow-ups.
- AI prompts that need more context than you want to type.
- Project updates, standup notes, and work logs.
- Rough outlines, decision notes, and personal reminders.
- Short paragraphs where you plan to edit immediately.
The important word is short. Live dictation feels better when each recording has one job. One paragraph. One reply. One task description. One prompt section. One note to yourself.
That keeps review lightweight. You can spot the awkward phrase, fix the name, and move on before the transcript becomes a separate editing project.
In SpeakLane, a push-to-talk hotkey is built for this kind of flow. Click where the text should go, hold the shortcut, speak the chunk, release, then review the result before sending or saving.
Use file transcription when the audio already exists
File transcription is different because the recording comes first.
You might have a m4a from Voice Memos, an mp3 clip, a wav export, a screen recording, a short video, or a meeting file you are allowed to process. The job is not to write in the moment. The job is to turn existing audio into something you can inspect, search, quote, summarize, or reuse.
Use file transcription for:
- Voice memos you captured away from your desk.
- Research interviews and customer conversations.
- Meeting recordings that need notes after the call.
- Podcast clips, video sections, or screen recordings.
- Longer spoken drafts that need careful cleanup.
The review step matters more here. Existing recordings often include side comments, false starts, names, numbers, and context that should not automatically become the final note. The transcript is source material, not the finished artifact.
SpeakLane's Transcribe File workflow keeps that first pass local on your Mac and saves the result in History, so you can inspect it before copying anything into a shared tool or AI assistant.
Choose based on what happens after the transcript appears
The easiest way to pick the right workflow is to ask what you will do with the text next.
If the next step is immediate editing in the same field, use live dictation. You want speed, low friction, and a tight loop between speaking and revising.
If the next step is reviewing a recording, pulling out useful parts, or verifying details, use file transcription. You want a transcript you can come back to, compare with source audio, and move into another document deliberately.
For example, a product manager writing a quick update might use live dictation:
Checkout fix is merged, but I want to watch the first few successful payments before calling it fully done. Next step is checking production logs after the deploy.
That can land directly in a project tool, then get trimmed before posting.
The same person reviewing a customer call should use file transcription. The recording may contain useful phrasing, private details, and open questions. It needs a transcript, then a separate pass to extract notes, decisions, and follow-ups.
Same voice-to-text category. Different responsibility.
Keep live dictation small enough to trust
Long live dictation sessions are tempting because talking is fast. The problem is that review gets harder as the transcript grows.
A five-second note is easy to check. A three-minute monologue is not. By the time the text appears, you may have forgotten which sentence had the wrong name or where the useful point was buried.
For live dictation, use smaller chunks:
- Say the point.
- Review the transcript.
- Fix names, numbers, and tone.
- Continue with the next chunk.
This is especially helpful for technical material. Product names, branch names, acronyms, customer names, and code terms are easier to catch when they are surrounded by one paragraph instead of twenty.
Short chunks also reduce the pressure to make the first spoken version perfect. You can think out loud, then edit the one section that matters.
Give file transcription more patience
File transcription rewards a slower setup.
Before importing a recording, check whether it is the cleanest source you have. A direct recording is usually better than a compressed copy from a messaging app. A focused clip is easier to review than a long file with several unrelated topics.
Then choose the model based on the stakes. In Settings > Models, a faster model can be fine for rough notes, while a stronger model is worth testing when the file includes names, quotes, customer language, deadlines, or technical terms.
Also decide whether you want readable text or faithful text. Filler-word cleanup can be helpful for a voice memo or draft. It may be the wrong choice when you need to preserve exactly how someone answered an interview question.
That extra setup feels slower, but it prevents the most common file-transcription problem: getting a transcript back and realizing you chose settings for convenience instead of the job the transcript has to do.
Use privacy as a checkpoint, not a slogan
Both workflows can include sensitive material, but they create different risks.
Live dictation can accidentally send rough thinking into the wrong place if you dictate straight into a shared app before reviewing. File transcription can turn a whole recording into text, including parts that do not belong in the final note.
The safer habit is the same in both cases: keep the messy pass local until it is ready.
For live dictation, that may mean dictating into a scratch note first or using auto-copy instead of auto-insert in Settings. For files, it may mean reviewing the transcript from local history before pasting only the cleaned notes into a project doc, email, ticket, CRM, or AI tool.
Local transcription gives you a useful checkpoint. You still decide what leaves your Mac.
A simple decision guide
Use live dictation when:
- You are writing something now.
- The text should land in the current app.
- The recording can be short.
- You expect to edit immediately.
- Speed and momentum matter more than preserving source audio.
Use file transcription when:
- The audio or video already exists.
- The recording is longer than a quick thought.
- You need to review, quote, summarize, or archive it.
- Names, numbers, and exact wording need checking.
- The transcript should be inspected before it moves anywhere else.
If you are unsure, start with the next action. If you need a paragraph, dictate it live. If you need to process a recording, transcribe the file. If you need to think through a messy idea before sharing it, use a private scratch space either way.
The best voice workflow is not the one that captures the most audio. It is the one that puts the right amount of text in the right place with enough control to trust what happens next.