File transcription on Mac: formats and settings that actually matter
A practical guide to choosing file formats, models, cleanup, and history settings before transcribing recordings locally on Mac.
File transcription usually fails in boring ways.
The file imports, but the transcript is rough. The recording is long, but you chose the fastest model and now every name needs checking. The text is usable, but you forgot where it was saved. Or the source file is fine, but the audio inside it is noisy enough that no setting can make it feel effortless.
A better workflow starts before you click Transcribe File. Pick the right source file, use the model that matches the job, decide what cleanup should happen, and make sure the finished transcript lands somewhere you can review it.
This is the practical version: what to check when you want a voice memo, interview clip, podcast section, meeting recording, or short video turned into usable text on your Mac.
Start with a supported file
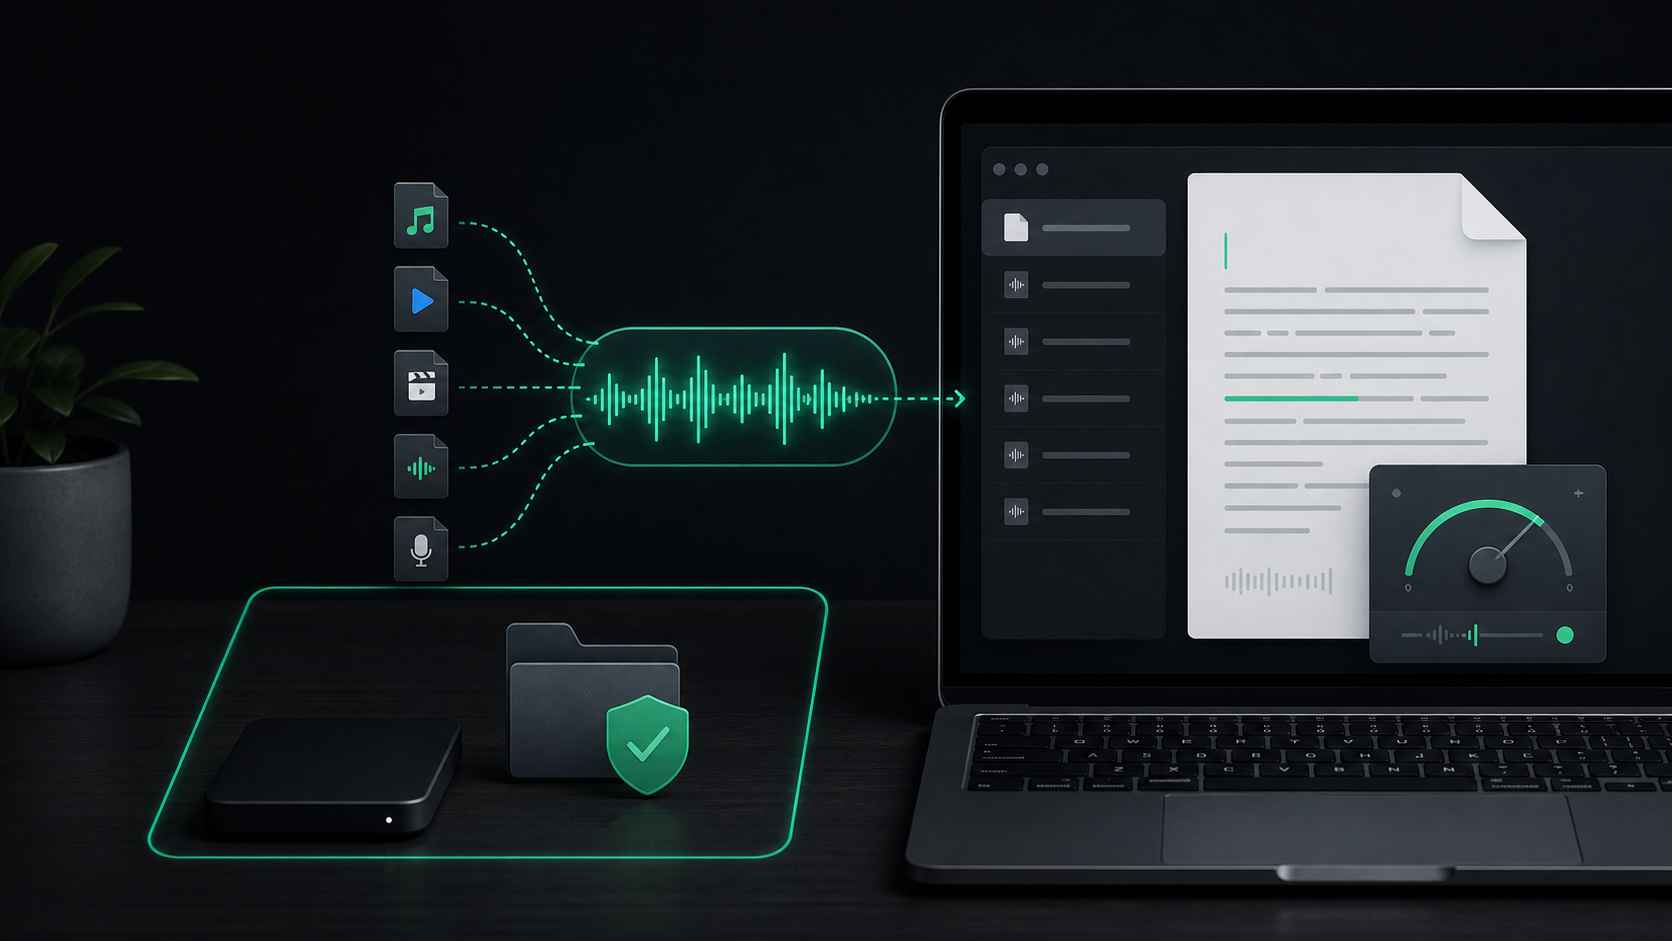
SpeakLane can import existing audio or video files from the menu bar with Transcribe File. The supported formats are:
m4amp3wavaacmp4mov
That covers the common Mac cases: Voice Memos exports, downloaded audio clips, podcast snippets, screen recordings, and short videos.
Supported does not mean every file will produce the same quality. The format is only the container. The transcript depends on what is inside it: microphone distance, background noise, compression, speaker overlap, accents, technical terms, and how clearly the important parts are spoken.
If you have a choice, start with the cleanest original file rather than a heavily compressed copy that has already been through a messaging app or social platform. A large clean recording is usually easier to transcribe than a tiny file with smeared audio.
Match the model to the recording
For quick drafts, the fastest model can be enough. For important or noisy recordings, accuracy matters more than speed.
SpeakLane lets you choose and download local Whisper models in Settings > Models. The docs describe the tradeoff plainly:
- Tiny is fastest and smallest, good for quick drafts.
- Base balances speed and accuracy.
- Small is better for longer or noisy audio.
- Medium is more accurate but slower and heavier.
- Large is the highest-accuracy option and needs more memory.
- Turbo is very fast with near-large quality.
Do not treat model choice as a permanent identity setting. Treat it as a setting for the file in front of you.
Use a faster model when the recording is short, casual, and easy to replay. Use a larger model when the transcript will become research notes, published quotes, client context, support material, or anything where fixing mistakes later costs more than waiting a little longer now.
If the recording is in English, the English-only model option may be worth testing. If the recording mixes languages, names, or non-English phrases, avoid assuming that an English-only model will be better. The right answer is the one that gives you fewer corrections on your actual material.
Use settings as a workflow, not a control panel
Before a longer transcription, check the settings that change the result and the handoff.
In Settings, Local model size controls which model is used. Clean up filler words removes common "um" and "uh" from the final text. Use Metal enables GPU acceleration on Apple Silicon. Threads controls CPU usage. Reveal history item on completion opens the finished item in Finder when processing ends.
That last one is easy to ignore, but it is useful for files. A file transcription is usually more intentional than a quick dictated sentence. You selected a recording because you wanted to review, edit, quote, archive, or reuse it. Revealing the result helps you inspect the transcript immediately instead of leaving it buried in history.
For a practical default:
- Pick the model before importing the file.
- Turn on filler cleanup if the transcript is for reading or reuse.
- Leave cleanup off if exact spoken wording matters.
- Enable reveal for longer or important files.
- Open the result and scan it before moving on.
That five-step check prevents the most common annoyance: transcribing a useful file, then having to rediscover where the result went and whether the settings were right.
Decide whether you need clean text or faithful text
Not every transcript has the same job.
Sometimes you want readable notes. A voice memo about a product idea, a rough meeting recap, or a spoken draft for a blog outline does not need every filler word. In those cases, cleanup helps the transcript feel closer to something you can edit.
Other times you need fidelity. If you are reviewing an interview answer, checking an exact quote, or preserving the way someone phrased a point, automatic cleanup may remove texture you wanted to keep.
Make the choice before transcribing:
- For summaries, drafts, and personal notes, favor readable cleanup.
- For quotes, research, and review, favor faithful transcripts.
- For client or sensitive material, review locally before pasting the result into another app.
The transcript is not the final artifact. It is the working copy. Treat it as a starting point you verify before it becomes a note, article, email, ticket, or prompt.
Keep the source audio close until you trust the transcript
SpeakLane saves file transcription results in your History folder. Each session includes transcript.txt, and audio is saved when available from file import or live dictation.
That matters because every transcript has uncertain parts. Proper nouns, product names, numbers, acronyms, timestamps, and quiet side comments are the first things to check. If the source audio stays with the transcript, you can listen back instead of guessing what the text was supposed to say.
This is especially useful for:
- Interview clips where one sentence may become a quote.
- Voice memos with names, dates, or project details.
- Podcast sections you plan to repurpose.
- Recorded notes with technical terms.
- Meeting excerpts where decisions or commitments matter.
Once you have moved the useful text into its real destination, decide what should happen to the recording. Keep source audio when it still has value. Prune it when the transcript has done its job and the audio is just clutter.
Make better files before you need better settings
Settings can improve the outcome, but they cannot rescue every recording.
If you are creating the audio yourself, a few habits matter more than the file extension. Record close enough to the microphone. Reduce background noise when possible. Avoid talking over other speakers. Pause between separate topics. Say unusual names and technical terms clearly the first time.
For longer material, break the recording into meaningful sections when you can. A five-minute focused clip is easier to review than a forty-minute file with three unrelated topics. It also makes the history folder more useful because each transcript has a clear purpose.
If a recording is already messy, use a larger model and budget time for review. That is still better than pretending the transcript should be perfect because the file imported successfully.
A reliable file transcription routine
Use this routine the next time you import an existing recording:
- Choose the cleanest available source file.
- Confirm the file is one of the supported formats.
- Pick a model based on how important and noisy the recording is.
- Choose cleanup based on whether you need readable or faithful text.
- Enable reveal if you want to inspect the result immediately.
- Transcribe the file from the menu bar.
- Open
transcript.txt, scan names and numbers, and listen back where needed. - Move the useful text into the real destination.
- Keep or prune the source audio deliberately.
That is enough structure for most voice memos, clips, and recordings.
The point is not to make file transcription complicated. The point is to make it predictable. When the format is supported, the model fits the job, and the transcript lands in local history where you can verify it, turning recordings into usable text becomes a normal Mac workflow instead of a cleanup project.