How to stop losing dictated notes on Mac
A practical way to use transcript history as a safety net when dictating notes, drafts, prompts, and follow-ups on Mac.
Dictation feels fast until the note disappears.
Maybe the focused app did not accept the inserted text. Maybe you copied something else before pasting the transcript. Maybe the cursor was in the wrong field, or the draft was too rough and you closed it before cleaning it up.
Those mistakes are small, but they are enough to make voice feel risky. If speaking a thought means you only get one chance to catch the transcript, you will naturally use dictation less often for important work.
The fix is not a more elaborate note-taking system. It is a recovery habit: make sure each useful recording has somewhere local to land before you decide where the final text belongs.
Treat history as a safety net, not another inbox
Transcript history works best when it has one job: recover the thing you just said.
That is different from treating history as your permanent writing system. A history folder is not where client records, product specs, research archives, or polished drafts should live forever. Those belong in the tools where you already manage that work.
History is the temporary layer between capture and destination.
The workflow is simple:
- Dictate the thought.
- Let the transcript land in the focused app, clipboard, or local history.
- Move the useful text into the right place.
- Prune the recording later if you do not need it.
This gives dictation a forgiving edge. You can speak naturally, review the result, and still recover from ordinary Mac workflow mistakes.
Use short sessions for easier recovery
Long recordings create long recovery jobs.
If you dictate ten minutes of scattered thinking and something goes wrong, history can still save the transcript. But now you have to search through a wall of text to find the useful part.
Short sessions are easier to trust:
- One reply paragraph.
- One meeting follow-up.
- One bug report context dump.
- One AI prompt section.
- One idea before you move to the next.
This is especially useful with a push-to-talk workflow. Hold the hotkey, speak one unit of thought, release, then let that session complete before starting another.
The boundary matters. Each recording becomes a recoverable item instead of one giant transcript that mixes five different jobs.
Choose the output mode based on risk
Auto-insert and clipboard output are both useful, but they solve different problems.
Use auto-insert when the destination is obvious and low risk. If your cursor is already in a draft email, a note, a task description, or an AI prompt field, direct insertion keeps the workflow moving. You speak, release, and the text appears where you were working.
Use the clipboard or a scratch space when the text needs review first. That is often better for sensitive notes, rough planning, client context, or anything you expect to edit heavily before sharing.
The important part is that history sits underneath both modes. If insertion fails, if the clipboard changes, or if you realize the transcript landed in the wrong place, you still have a path back to the session.
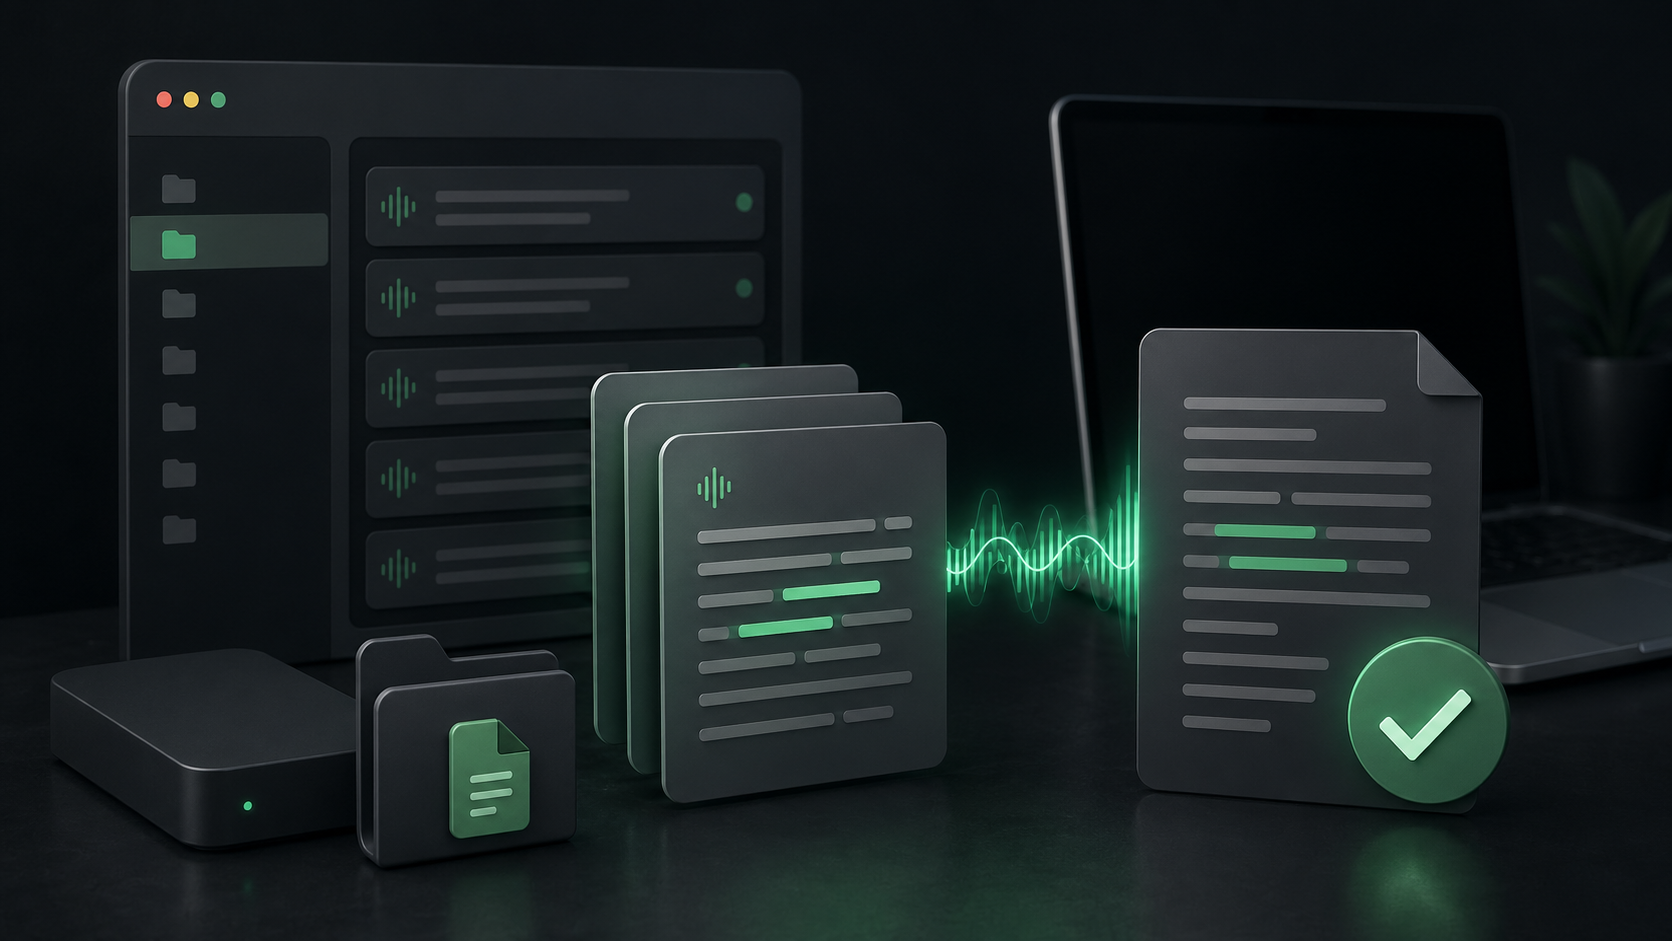
In SpeakLane, you can tune these behaviors in Settings. Auto-copy copies the final transcript to the clipboard. Auto-insert types it into the focused app when Accessibility permission is available. History gives you a separate local place to find the session afterward.
Know what gets saved
A recovery system is only useful if you know what it keeps.
SpeakLane stores each session in your History folder. The final transcript is saved as transcript.txt, and an audio.* file is included when audio is available from live dictation or file import.
That gives you two levels of recovery.
The transcript is the everyday safety net. If a note did not paste, if you need to quote a phrase again, or if you want to move the text into a different app, open the session and copy from transcript.txt.
The audio is useful when the text needs checking. If a name, product term, or number looks wrong, the original recording can help you verify what was said. You do not need that for every casual note, but it is valuable for interviews, client calls, research clips, or technical material where a small transcription error matters.
The point is not to hoard every recording. The point is to avoid depending on memory when the transcript is recoverable.
Turn on reveal for important captures
Some dictations are throwaway drafts. Others are worth inspecting immediately.
For those, enable "Reveal history item on completion." When a session finishes, SpeakLane opens the new item in Finder so you can see exactly where it was saved.
That setting is helpful when you are building trust in the workflow, transcribing an existing file, or capturing something you cannot easily repeat. Instead of wondering whether the transcript exists, you can open the folder, review the result, rename or move it if needed, and continue.
It also creates a useful habit for longer files. After transcribing a voice memo, podcast clip, interview, or recorded note, reveal the item, scan the transcript, and copy the useful parts into your real workspace while the context is still fresh.
Set retention before history gets noisy
History is useful because it catches what you might otherwise lose. It becomes less useful when it fills with old recordings you never meant to keep.
Decide how much recovery you actually need.
For frequent everyday dictation, a rolling retention window may be enough. You want yesterday's lost note, not every rough paragraph from the last six months.
For occasional file transcription, you may want to keep more because each item is more intentional: an interview clip, a voice memo, a meeting recording, or a video transcript you may revisit.
In Settings, "Keep last X recordings" controls retention. Set it based on how you work, and remember that 0 means keep everything. That can be useful while testing, but it should be a deliberate choice.
A good default habit is:
- Keep enough recent history to recover mistakes.
- Move important transcripts into the right project or notes system.
- Delete recordings that no longer have value.
- Avoid using dictation history as a private archive by accident.
This keeps the recovery layer light.
Build a two-minute recovery routine
When a transcript goes missing, do not redictate immediately.
Try this first:
- Open History from the menu bar or Settings.
- Find the most recent session.
- Open
transcript.txt. - Copy the useful text into the correct app.
- If the transcript looks suspicious, check the saved audio.
- Delete or keep the session based on whether it has future value.
That routine turns a failure into a small interruption instead of a lost thought.
It also changes how dictation feels. You can use voice for messier, more useful material because the capture step is recoverable. A rough idea, a customer follow-up, a task description, or a long AI prompt does not have to survive only on the clipboard.
Dictation gets easier to use when losing a note is no longer part of the bargain.