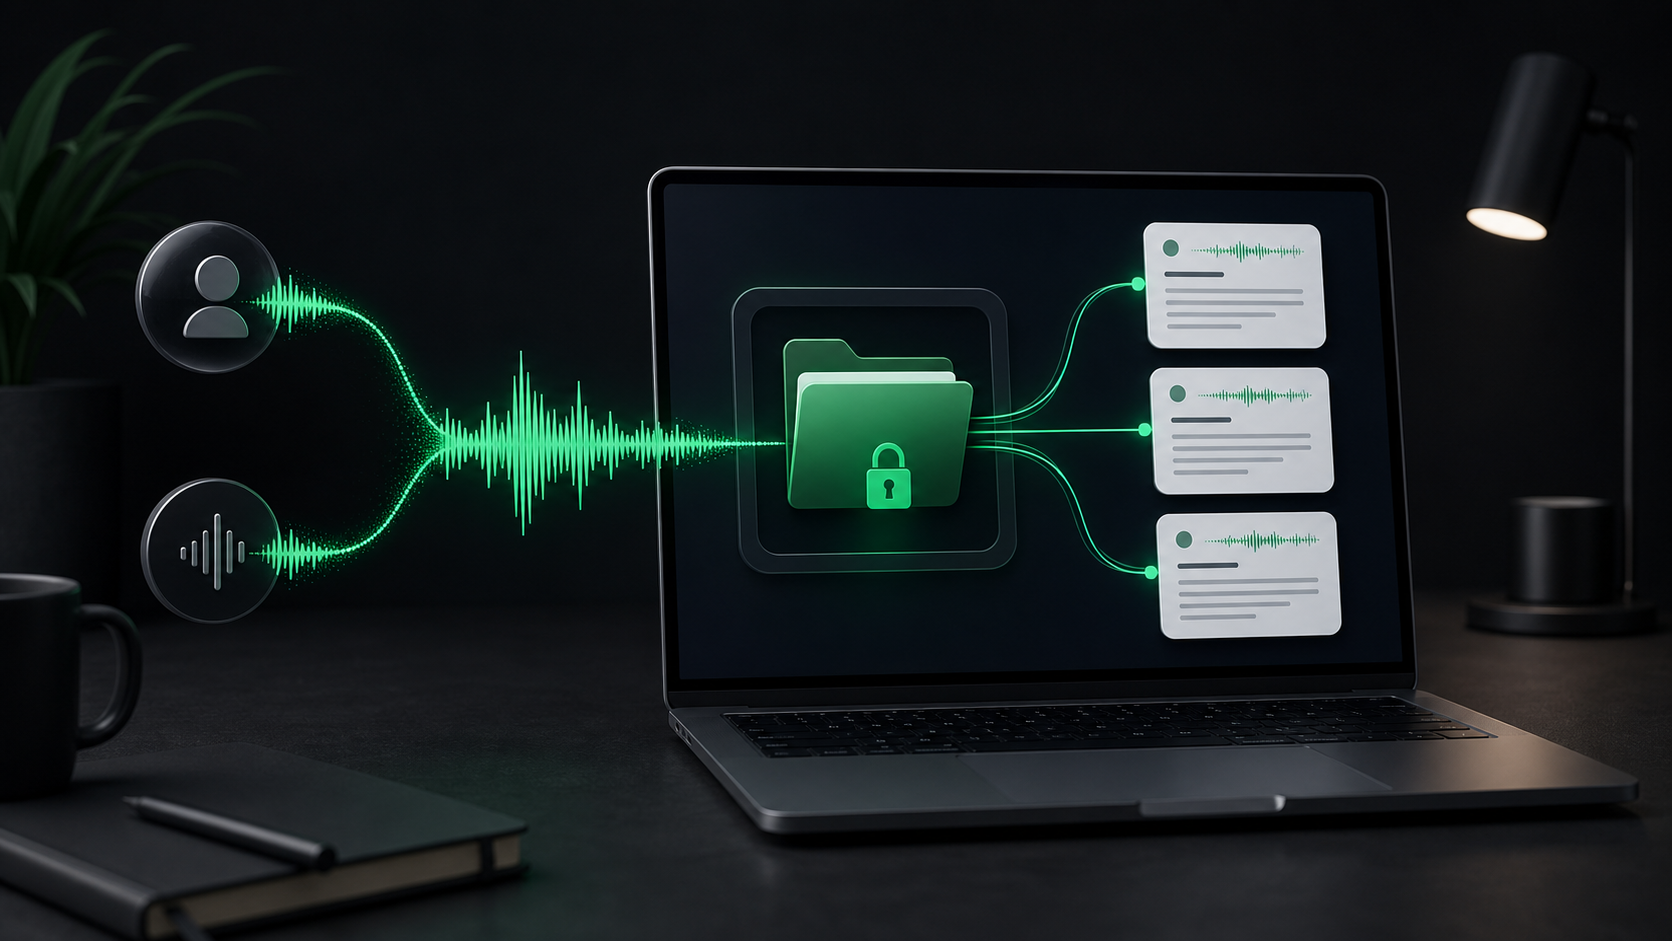
How to transcribe research interviews locally on Mac
A practical workflow for turning interview recordings into usable research notes without uploading raw audio first.
Research interviews create messy, useful audio.
The recording may contain the exact phrasing you want to preserve, the context behind a customer complaint, a product detail you need to check later, or a few minutes of small talk that should never make it into the final notes. A transcript helps, but the raw recording is often more sensitive than the summary you eventually share.
That is why the first transcription step matters. If you can turn the interview into text locally, you get a review checkpoint before the audio or rough transcript moves into a shared doc, ticket, CRM, research repository, or AI tool.
This workflow is for Mac users who already have an interview recording and want to turn it into useful notes without treating the raw audio like casual cloud upload material.
Start with permission and scope
Before importing a file, make sure the recording belongs in your workflow.
That means you know why it exists, who can access it, and what you plan to keep. Research audio can contain names, company details, pricing comments, support history, product criticism, and offhand remarks that were never meant to become durable notes.
Keep the scope narrow:
- What question were you trying to answer?
- Which parts of the interview need exact wording?
- Which parts only need a summary?
- Where will the final notes live?
- When should the source audio be deleted or archived?
This is not bureaucracy. It saves editing time later. A transcript with a clear purpose is easier to cut down than a full conversation that you feel obligated to preserve sentence by sentence.
Use the cleanest recording you have
Transcription quality starts before the app sees the file.
If you have multiple versions of the interview, choose the clearest original. A direct recording from a call app or recorder is usually better than an audio file that has been compressed through a messaging app. If the useful section is only ten minutes inside a long conversation, consider trimming the file first so review stays focused.
SpeakLane can import common audio and video formats from the menu bar with Transcribe File, including m4a, mp3, wav, aac, mp4, and mov. That covers most call exports, Voice Memos files, screen recordings, and short video clips.
Supported format is only the first gate. The transcript still depends on the recording itself: microphone distance, background noise, overlapping speakers, accents, proper nouns, product names, and how clearly people spoke.
If the interview is important, do not make the transcription job harder than it needs to be. Use the clean file, shorten it when practical, and keep the source audio available until you have checked the parts that matter.
Pick the model based on review risk
Research interviews are not all the same.
A lightweight internal discovery call may only need rough themes and next steps. A customer interview with quotable language, names, deadlines, or technical terms deserves a more careful pass.
In SpeakLane, you can choose local Whisper models in Settings > Models. The practical tradeoff is speed versus accuracy:
- Use a faster model when you only need rough notes.
- Use a stronger model when names, quotes, or product terms matter.
- Use more patience for noisy audio, group calls, or long files.
- Check important passages against the original audio before quoting them.
The mistake is treating every recording as either casual or critical. Some interviews contain one exact sentence you need to preserve and twenty minutes you only need to summarize. For those files, a stronger model plus selective review is usually better than a fast transcript you do not trust.
Keep the first transcript local
The first transcript is usually not the artifact you want to share.
It can include false starts, sensitive customer details, repeated context, unedited criticism, and guesses from the model that need correction. That rough layer is useful because it lets you search and review the recording. It is not automatically ready for a team doc.
Local transcription gives you a better boundary. In SpeakLane, file transcription results are saved in local history. You can inspect transcript.txt, listen back where needed, and decide what belongs in the final notes before copying anything elsewhere.
That boundary matters even if your final research system is cloud-based. The point is not to pretend the final notes will never leave your Mac. The point is to avoid uploading the raw interview or the unfiltered transcript before you have made the first set of editorial decisions.
Use the local transcript as a staging area:
- Open the transcript from history.
- Mark sections that answer the research question.
- Check names, numbers, product terms, and quotes.
- Remove anything that does not belong in shared notes.
- Move only the cleaned version into the destination system.
That extra step is small, but it changes the privacy posture of the whole workflow.
Turn the transcript into research notes
A full transcript is searchable. It is not usually readable.
Most teams need a smaller artifact: themes, quotes, decisions, follow-up questions, and evidence tied to the thing they were trying to learn. If the interview was thirty minutes long, the useful note may be one page.
A simple structure works:
- Context: who the interview represents and what you were trying to learn.
- Signals: the recurring needs, objections, or behaviors that showed up.
- Quotes: exact wording worth preserving, checked against the audio.
- Open questions: anything the interview raised but did not answer.
- Follow-ups: product, support, sales, or research actions.
Do not make the transcript do all of those jobs. Let it be source material. The research note should be shaped for the next person who needs to understand what changed because this interview happened.
This is especially important for AI summaries. Pasting an unreviewed transcript into an AI tool can be tempting, but it may include details the final summary does not need. A better pattern is to clean the transcript locally first, then share the minimum useful context.
Be careful with quotes
Interview quotes are powerful because they sound real. They also carry responsibility.
Before using a quote in a research report, support doc, landing page, sales note, or product brief, check the audio. Proper nouns, negations, numbers, and short qualifier words are easy to miss and easy to misrepresent.
For example, there is a big difference between:
- "We would use this for client calls."
- "We would not use this for client calls."
- "We would use this for client calls if the recordings stayed local."
Those sentences can sound similar in a noisy recording, but they point to different conclusions.
Use the transcript to find the moment. Use the audio to verify the wording. Then decide whether the quote should be preserved exactly, paraphrased, anonymized, or left out.
Decide what to keep after the note is done
Once the research note exists, the source recording has a new job. Sometimes it is still evidence you need to keep. Sometimes it is just sensitive clutter.
Make the retention decision deliberately:
- Keep the recording while quotes, claims, or decisions still need verification.
- Keep the transcript if it supports future research review.
- Remove details that should not be shared beyond the research context.
- Prune source audio when the cleaned note is enough.
SpeakLane's history and retention settings let you control where transcripts are stored and how recordings are kept. The right policy depends on your team, client expectations, and the sensitivity of the material. The important thing is to avoid leaving raw interviews around by accident.
A local interview transcription routine
Use this checklist for the next interview recording:
- Confirm the recording should be transcribed and kept.
- Choose the cleanest source file.
- Trim or split the recording if only part of it matters.
- Pick a local model based on the stakes of the transcript.
- Import the file with Transcribe File.
- Review the transcript from local history.
- Check quotes, names, dates, and product terms against the audio.
- Turn the transcript into themes, quotes, questions, and follow-ups.
- Move only the cleaned notes into the shared destination.
- Decide whether to keep or prune the source audio.
The transcript is not the finish line. It is the bridge between a recorded conversation and a useful research artifact.
When that bridge runs locally first, you get more control over what leaves your Mac, what gets shared, and what becomes part of the permanent record.